 Cookify
Use your NestJS Swagger page like an API client
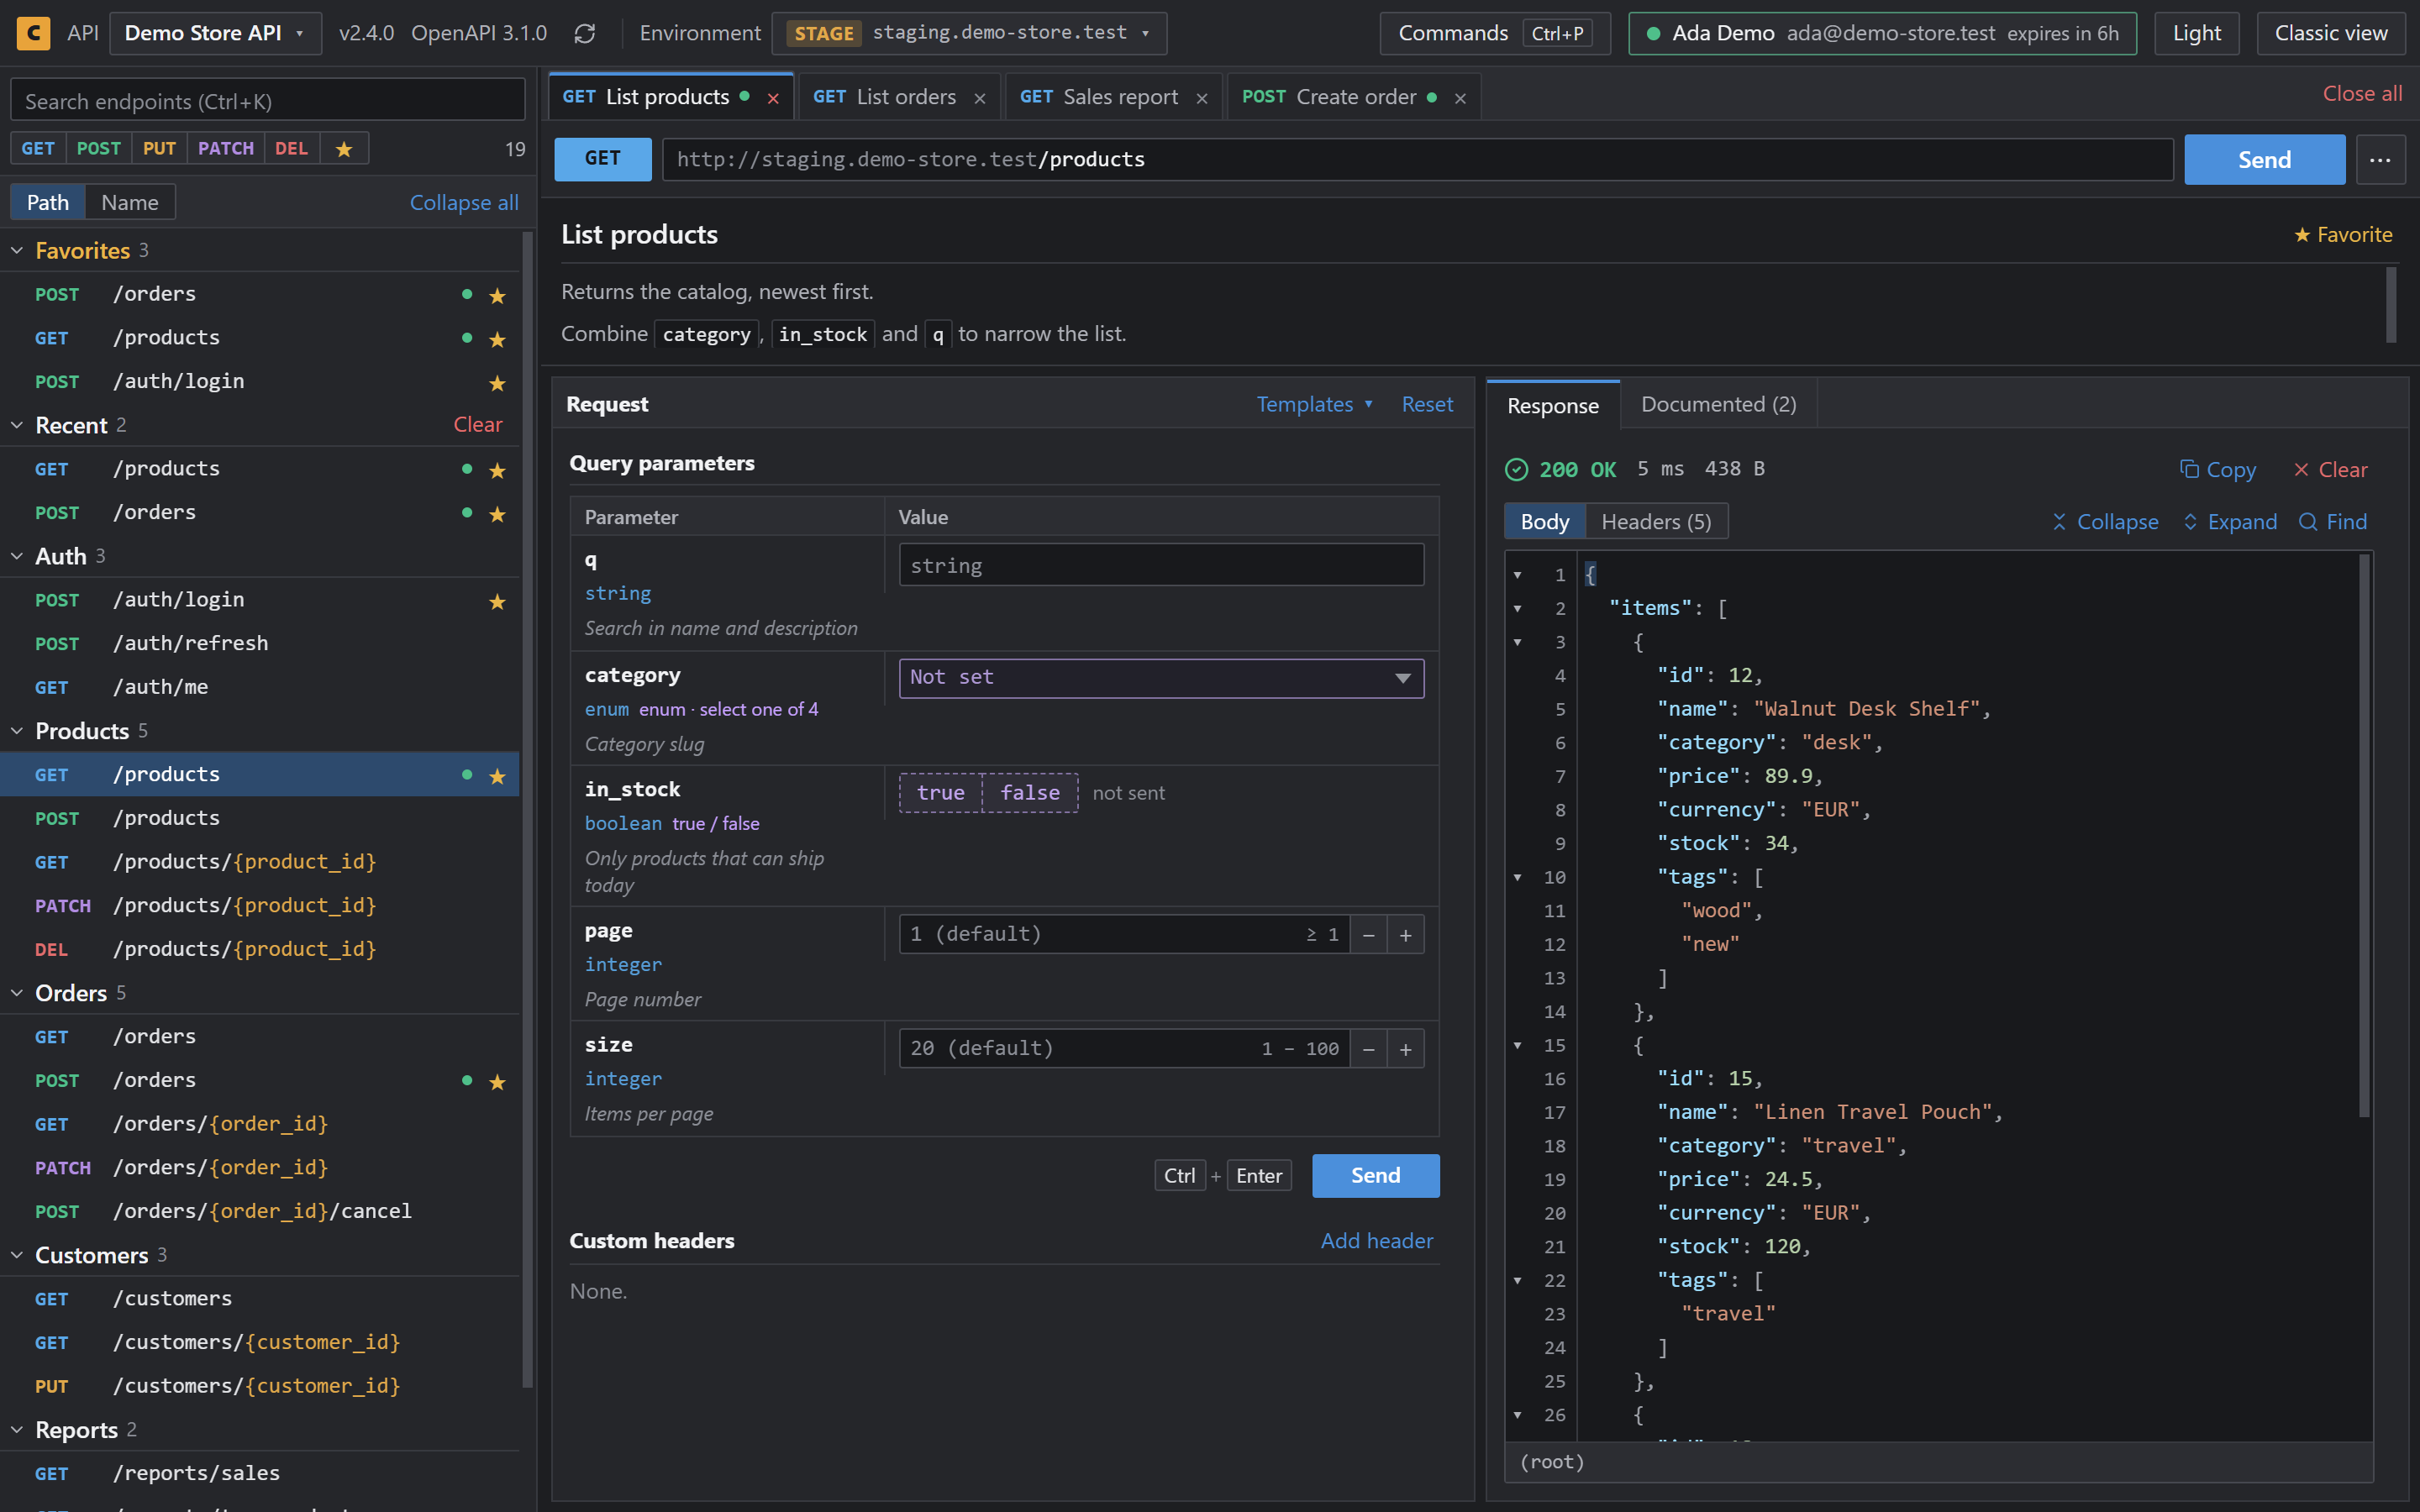
If you set up @nestjs/swagger, you already have everything Cookify needs. Open the page and work with your endpoints in tabs.
| Library | @nestjs/swagger |
|---|---|
| Docs address | The path in SwaggerModule.setup, usually /api |
| API document | Read from swagger-ui-init.js on the page |
| Changes to your app | None |
Set it up
- Add Cookify from the Chrome Web Store.
- Start your app and open the path you passed to
SwaggerModule.setup. - Save the API when Cookify asks, or choose Not now.
- Open an endpoint and send a request.
What you get
- Several endpoints open in tabs
- Request bodies that stay after a refresh
- Development, Staging and Production with a token for each
- Command palette on
Ctrl+P - Dark theme by default
No JSON address needed
NestJS puts the whole API document inside a script on the docs page. Cookify reads it from that script, so you don't have to export a file or find a URL to import.
Questions
- Do I need to expose a JSON endpoint?
- No. Cookify reads the document embedded in the page.
- Does it work with addBearerAuth()?
- Yes. Pick a saved token for the environment, and requests use it.
- Do I need to change my NestJS code?
- No. It runs only in your browser.